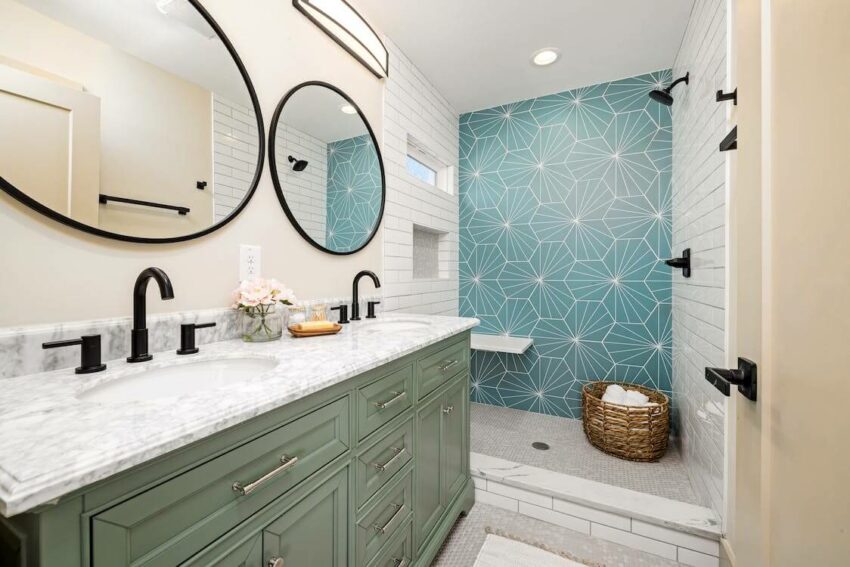
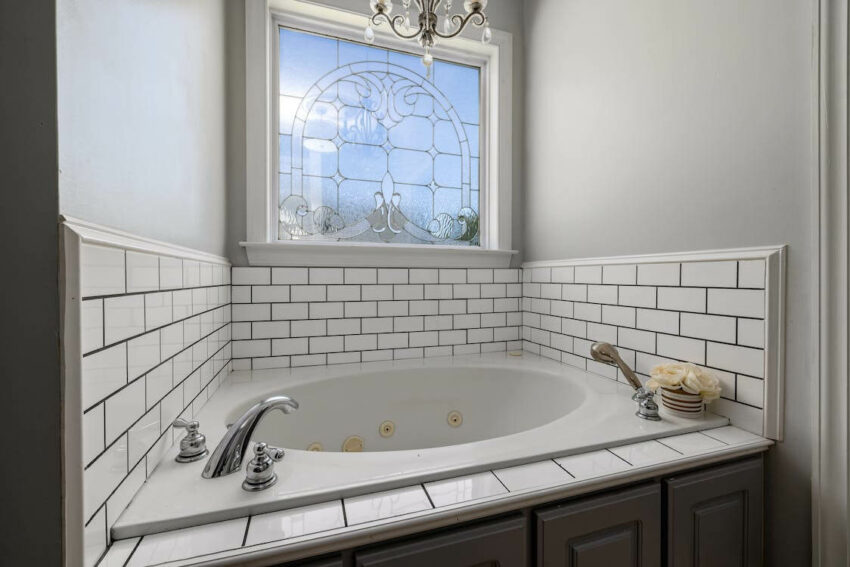
“Bring your empty space to life with Adobe Virtual Staging!”
Adobe Virtual Staging is a revolutionary technology that allows real estate agents and homeowners to virtually stage their properties without the need for physical furniture. This technology uses 3D models and computer-generated imagery to create realistic virtual environments that can be used to showcase a property’s potential. With Adobe Virtual Staging, agents and homeowners can quickly and easily create a virtual staging of their property that can be used to attract potential buyers. This technology is a great way to save time and money while still providing potential buyers with a realistic view of the property.

How Adobe Virtual Staging Can Help Sell Your Home Faster
Are you looking for a way to make your home stand out in the real estate market? Adobe Virtual Staging is the perfect solution!
Adobe Virtual Staging is a revolutionary technology that allows you to virtually stage your home without having to hire a professional stager or purchase furniture. With Adobe Virtual Staging, you can transform your empty space into a beautiful, inviting home that potential buyers will love.

Adobe Virtual Staging is easy to use and can be done in just a few simple steps. First, you upload photos of your empty space to the Adobe Virtual Staging platform. Then, you select the furniture and décor you want to add to the space. Finally, you can preview the virtual staging in real-time and make any adjustments you need.
Adobe Virtual Staging is a great way to make your home stand out in the real estate market. By virtually staging your home, you can give potential buyers a better idea of how the space could look with furniture and décor. This can help them visualize themselves living in the space and make them more likely to make an offer.
Adobe Virtual Staging is also cost-effective and time-saving. You don’t have to hire a professional stager or purchase furniture, which can save you money and time. Plus, you can make changes to the virtual staging as often as you need, so you can keep up with the latest trends in home décor.
If you’re looking for a way to make your home stand out in the real estate market, Adobe Virtual Staging is the perfect solution. With Adobe Virtual Staging, you can transform your empty space into a beautiful, inviting home that potential buyers will love. So what are you waiting for? Try Adobe Virtual Staging today and get your home sold faster!
The Benefits of Using Adobe Virtual Staging for Real Estate Agents
Real estate agents are always looking for ways to make their properties stand out from the competition. One of the most effective ways to do this is through virtual staging. Adobe virtual staging is a powerful tool that can help agents create stunning visuals of their properties, giving potential buyers a better idea of what the space could look like.

Adobe virtual staging offers a number of benefits for real estate agents. First, it’s cost-effective. Traditional staging can be expensive, but virtual staging is much more affordable. This makes it a great option for agents who are working with a limited budget.
Second, it’s fast. With traditional staging, it can take days or even weeks to get the space ready for potential buyers. With virtual staging, agents can create stunning visuals in a matter of minutes. This makes it a great option for agents who need to get their properties on the market quickly.
Third, it’s versatile. Adobe virtual staging allows agents to customize the visuals to fit the style of the property. This means agents can create visuals that are tailored to the specific needs of their clients.
Finally, it’s easy to use. Adobe virtual staging is user-friendly and doesn’t require any special skills or knowledge. This makes it a great option for agents who are just getting started in the real estate industry.
Adobe virtual staging is a powerful tool that can help real estate agents create stunning visuals of their properties. It’s cost-effective, fast, versatile, and easy to use, making it a great option for agents who are looking to make their properties stand out from the competition.
How to Get Started with Adobe Virtual Staging
Are you looking for a way to make your real estate listings stand out? Adobe Virtual Staging is the perfect solution! With Adobe Virtual Staging, you can quickly and easily create realistic 3D images of empty rooms, giving potential buyers a better idea of how the space could look.
Getting started with Adobe Virtual Staging is easy! First, you’ll need to download the Adobe Creative Cloud app. This will give you access to all of Adobe’s creative tools, including Adobe Virtual Staging. Once you’ve downloaded the app, you’ll be ready to start creating your virtual staging images.
The next step is to choose the furniture and accessories you want to use in your virtual staging images. Adobe has a wide selection of 3D models to choose from, so you’ll be able to find the perfect pieces to fit your space. Once you’ve chosen your furniture and accessories, you can start arranging them in the room. You can move, rotate, and scale the objects to create the perfect layout.
Finally, you can add lighting and shadows to your virtual staging images to make them look even more realistic. You can also adjust the colors and textures of the furniture and accessories to make them look just right.

Once you’ve finished creating your virtual staging images, you can save them and share them with potential buyers. With Adobe Virtual Staging, you can quickly and easily create realistic 3D images of empty rooms, giving potential buyers a better idea of how the space could look. So what are you waiting for? Get started with Adobe Virtual Staging today!
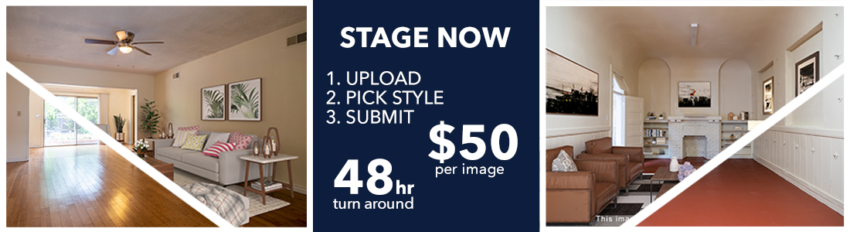
Use Realtors Media House Easy Upload Form Today!
Let us do the work for you!
- Virtual staging is a faster!
- Virtual staging is more affordable!
- Virtual staging is a more versatile!
We have many furniture styles available to perfectly match the interior of your listing…
Tips for Creating the Perfect Virtual Staging Scene with Adobe
Start with a blank canvas.
Before you begin creating your virtual staging scene, make sure you have a blank canvas to work with. This will help you focus on the elements you want to include in your scene and make sure everything looks cohesive.
Choose the right colors.
Color is an important part of any virtual staging scene, so make sure you choose colors that will work together and create a pleasing aesthetic. Adobe has a great selection of color palettes to choose from, so take some time to explore and find the perfect combination for your scene.
Add furniture and accessories.
Once you’ve chosen the colors for your scene, it’s time to start adding furniture and accessories. Adobe has a wide selection of 3D models to choose from, so you can easily find the perfect pieces to complete your scene.
Add lighting.
Lighting is an important part of any virtual staging scene, so make sure you take the time to add the right lighting to your scene. Adobe has a great selection of lighting options to choose from, so you can easily create the perfect atmosphere for your scene.
Add textures.
Textures are a great way to add depth and realism to your virtual staging scene. Adobe has a great selection of textures to choose from, so take some time to explore and find the perfect ones for your scene.
Add people.
People are an important part of any virtual staging scene, so make sure you take the time to add them to your scene. Adobe has a great selection of 3D models to choose from, so you can easily find the perfect people to complete your scene.
Finalize your scene.
Once you’ve added all the elements to your scene, it’s time to finalize it. Take some time to adjust the lighting, textures, and other elements to make sure everything looks perfect.
Creating the perfect virtual staging scene with Adobe is easy when you follow these tips. With the right colors, furniture, accessories, lighting, textures, and people, you can easily create a stunning scene that will impress your viewers.
The Pros and Cons of Adobe Virtual Staging for Homeowners
Adobe Virtual Staging is a great way for homeowners to get the most out of their home’s potential. It’s a cost-effective way to make a home look more attractive and inviting to potential buyers. But, like any other home improvement project, there are pros and cons to consider before taking the plunge.
Pros:
- Cost-Effective: Adobe Virtual Staging is much more affordable than traditional staging. It’s a fraction of the cost of hiring a professional stager and can be done in a fraction of the time.
- Quick Turnaround: Adobe Virtual Staging can be completed in a matter of days, allowing homeowners to get their home on the market quickly.
- Flexibility: Adobe Virtual Staging allows homeowners to customize the look of their home to fit their own personal style.
Cons:
- Limited Options: Adobe Virtual Staging is limited to the furniture and accessories that are available in the software. This means that homeowners may not be able to find the exact pieces they’re looking for.
- Not Realistic: Adobe Virtual Staging can look great, but it’s not as realistic as traditional staging. This can be a turn-off for potential buyers who are looking for a more authentic experience.
- Not Permanent: Adobe Virtual Staging is not a permanent solution. Once the home is sold, the virtual furniture and accessories will disappear.
Overall, Adobe Virtual Staging is a great way for homeowners to get the most out of their home’s potential. It’s cost-effective, quick, and flexible, but it’s important to consider the pros and cons before taking the plunge.

Q&A
- What is Adobe Virtual Staging?
Adobe Virtual Staging is a technology that allows real estate agents and photographers to digitally stage a property without having to physically move furniture or other items into the space. It uses Adobe Photoshop to create realistic 3D models of furniture and other objects that can be placed into a room to give it a more inviting look.
2. How does Adobe Virtual Staging work?
Adobe Virtual Staging works by using Adobe Photoshop to create 3D models of furniture and other objects. These models are then placed into a room to give it a more inviting look. The models can be moved around and adjusted to fit the space, and the colors and textures can be changed to match the existing decor.
3. What are the benefits of using Adobe Virtual Staging?
Adobe Virtual Staging can save time and money by eliminating the need to physically move furniture and other items into a space. It also allows for more flexibility in staging a property, as the models can be moved around and adjusted to fit the space. Additionally, it can help to make a property look more inviting and attractive to potential buyers.
4. What types of objects can be used in Adobe Virtual Staging?
Adobe Virtual Staging can be used to create 3D models of furniture, artwork, rugs, plants, and other objects. The models can be adjusted to fit the space and the colors and textures can be changed to match the existing decor.
5. Is Adobe Virtual Staging expensive?
Adobe Virtual Staging is typically more affordable than physically staging a property. The cost of the software and the 3D models can vary depending on the complexity of the project, but it is generally much less expensive than hiring a professional stager.
Conclusion
Adobe virtual staging is a powerful tool for real estate agents and home sellers to create realistic and attractive images of their properties. It allows them to quickly and easily create virtual images of their properties that can be used to attract potential buyers. With its easy-to-use interface and wide range of features, Adobe virtual staging is an invaluable tool for anyone looking to make their property stand out in the market.